- Introduction
- Installation
- Support
- Upgrade Guide
- Changelog

Doc's contents
Installation
# Installation Requirements
- PHP >= 8.2
- MySQL >= 5.6
- PDO PHP Extension enabled
- JSON PHP Extension enabled
AiDex seamlessly integrates with Shared Hosting plans, offering compatibility that ensures smooth operation. As we offer a streamlined installation wizard that lets you install your version of AiDex with few click, with no need to dig deeper in codes & files.
# Deploying to a shared hosting
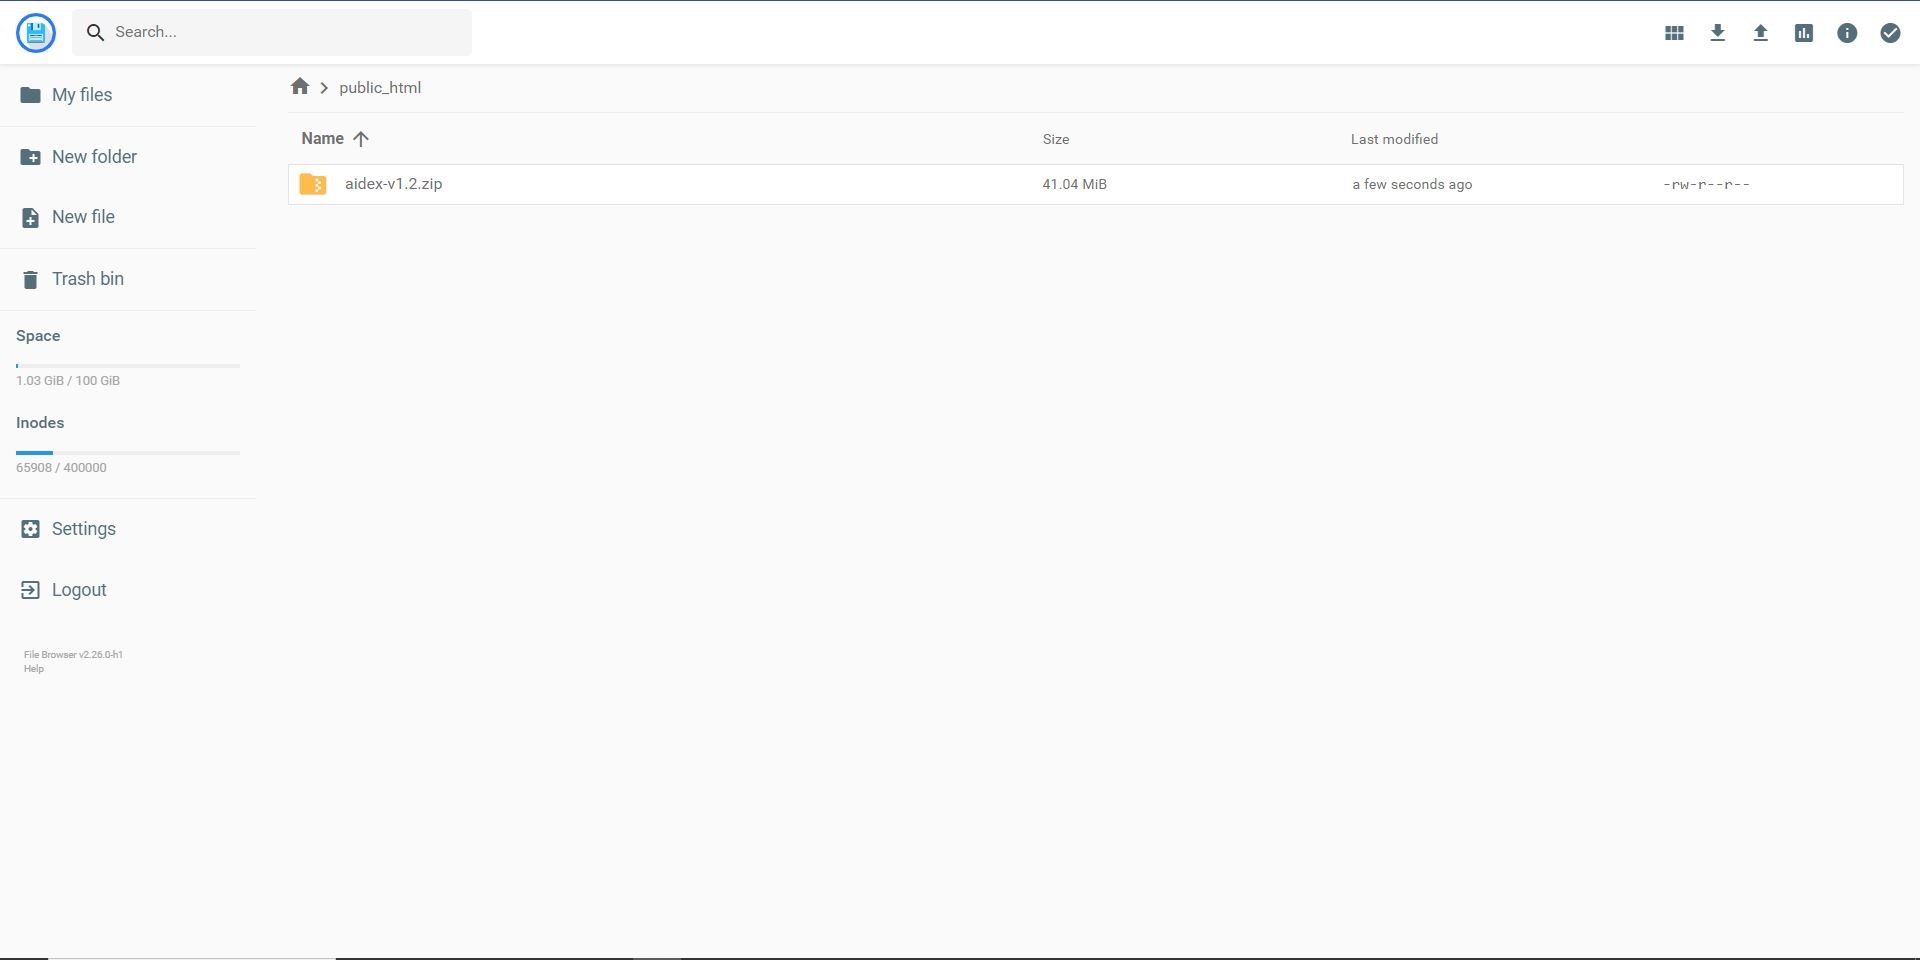
- Upload Your Application: Use an FTP client or your hosting file manager to upload your AiDex application files to your web hosting service.
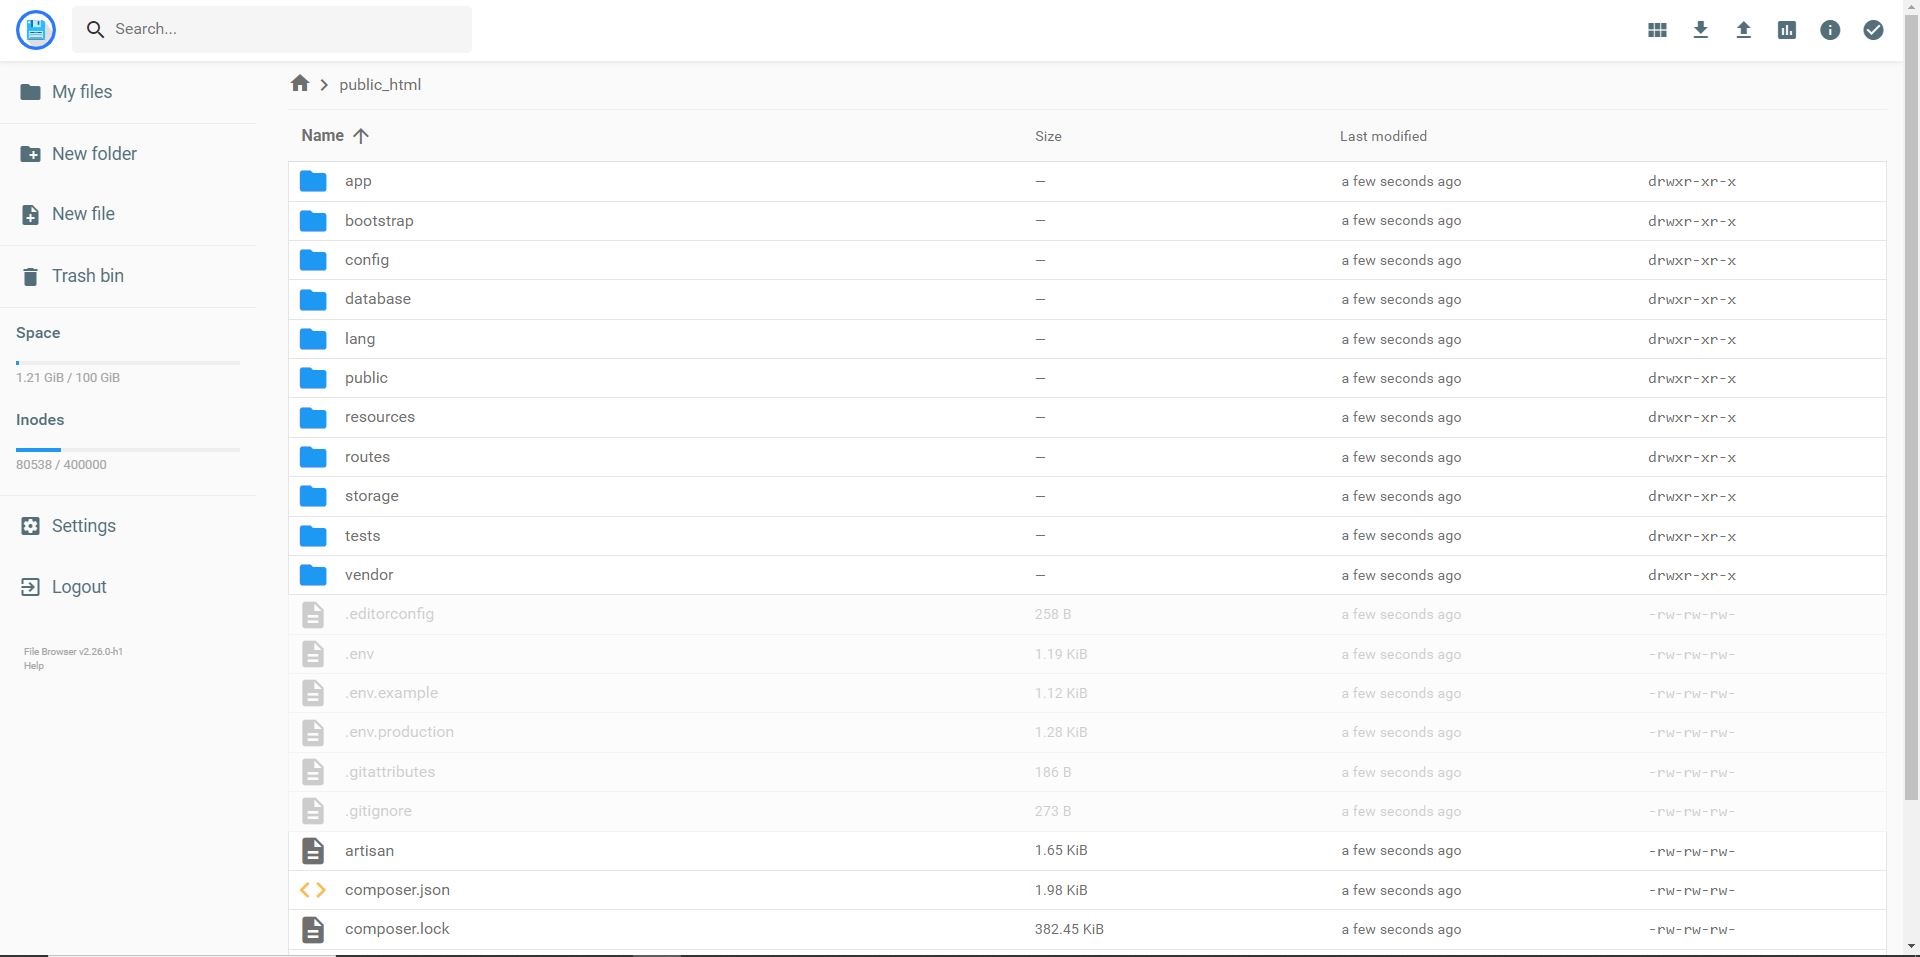
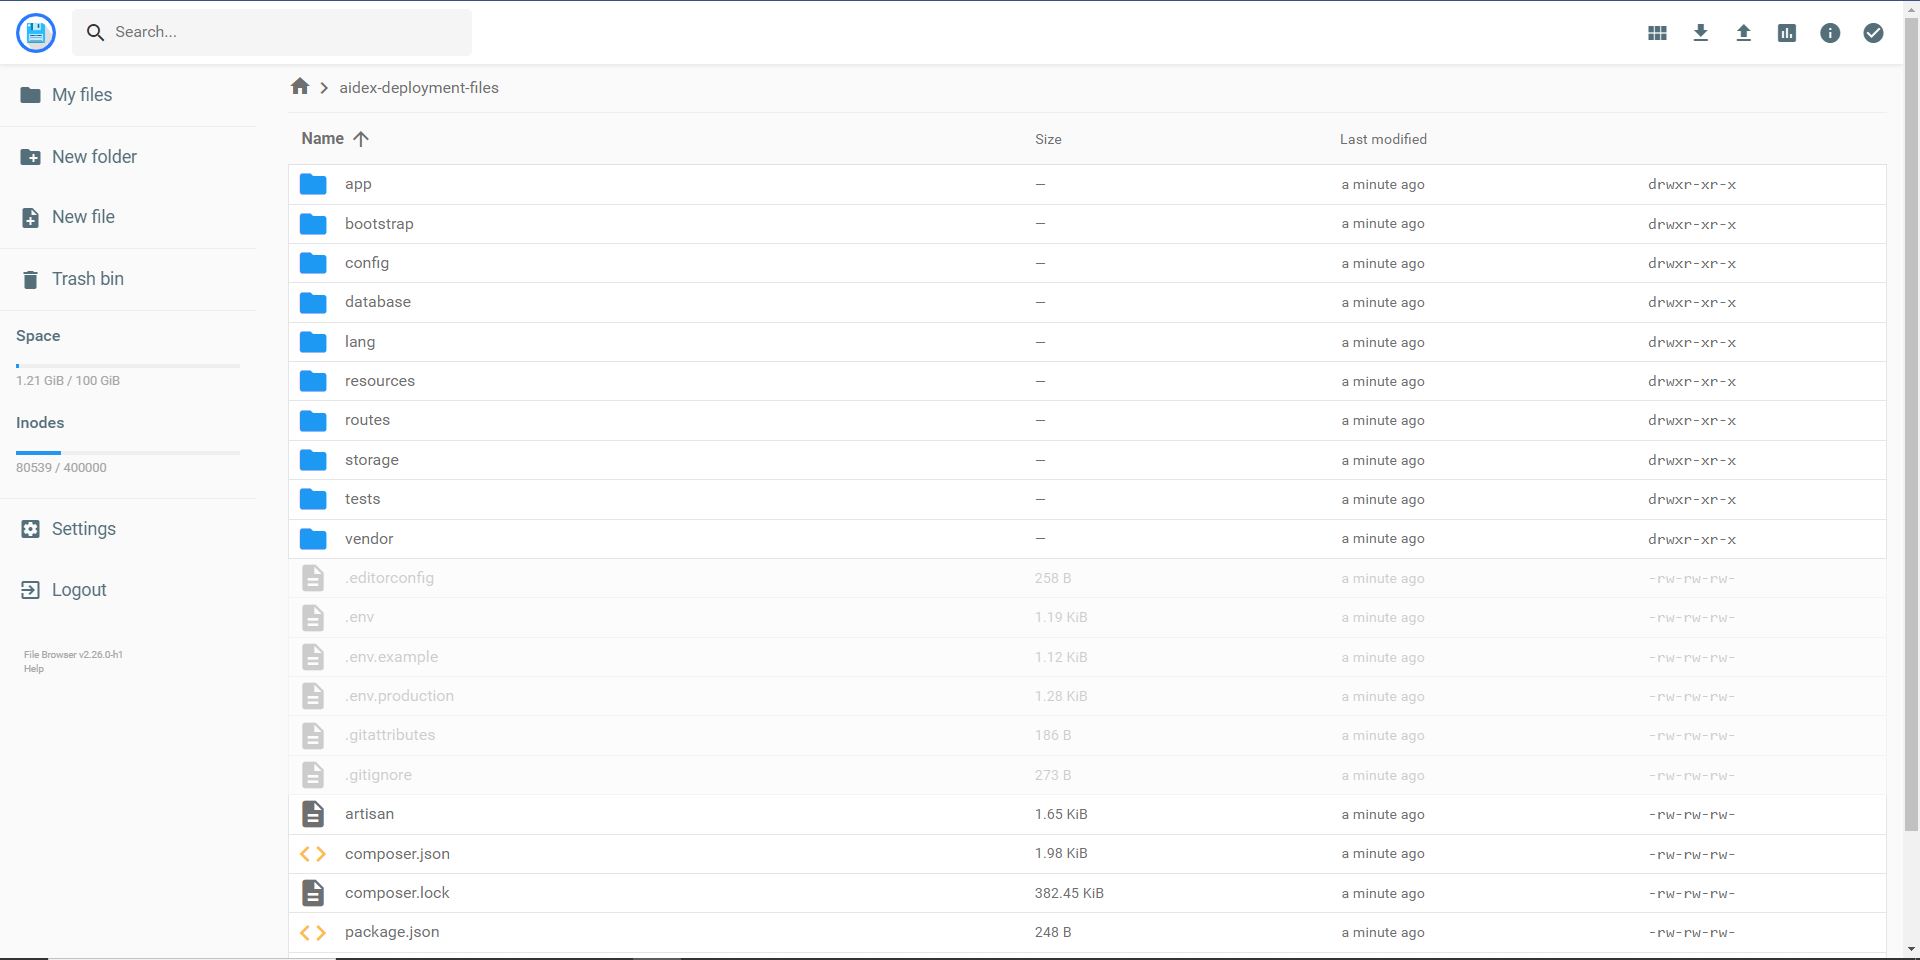
- Secure Your Files: Move all files and folders except those in the public folder outside of the public_html (or www) directory for security reasons.
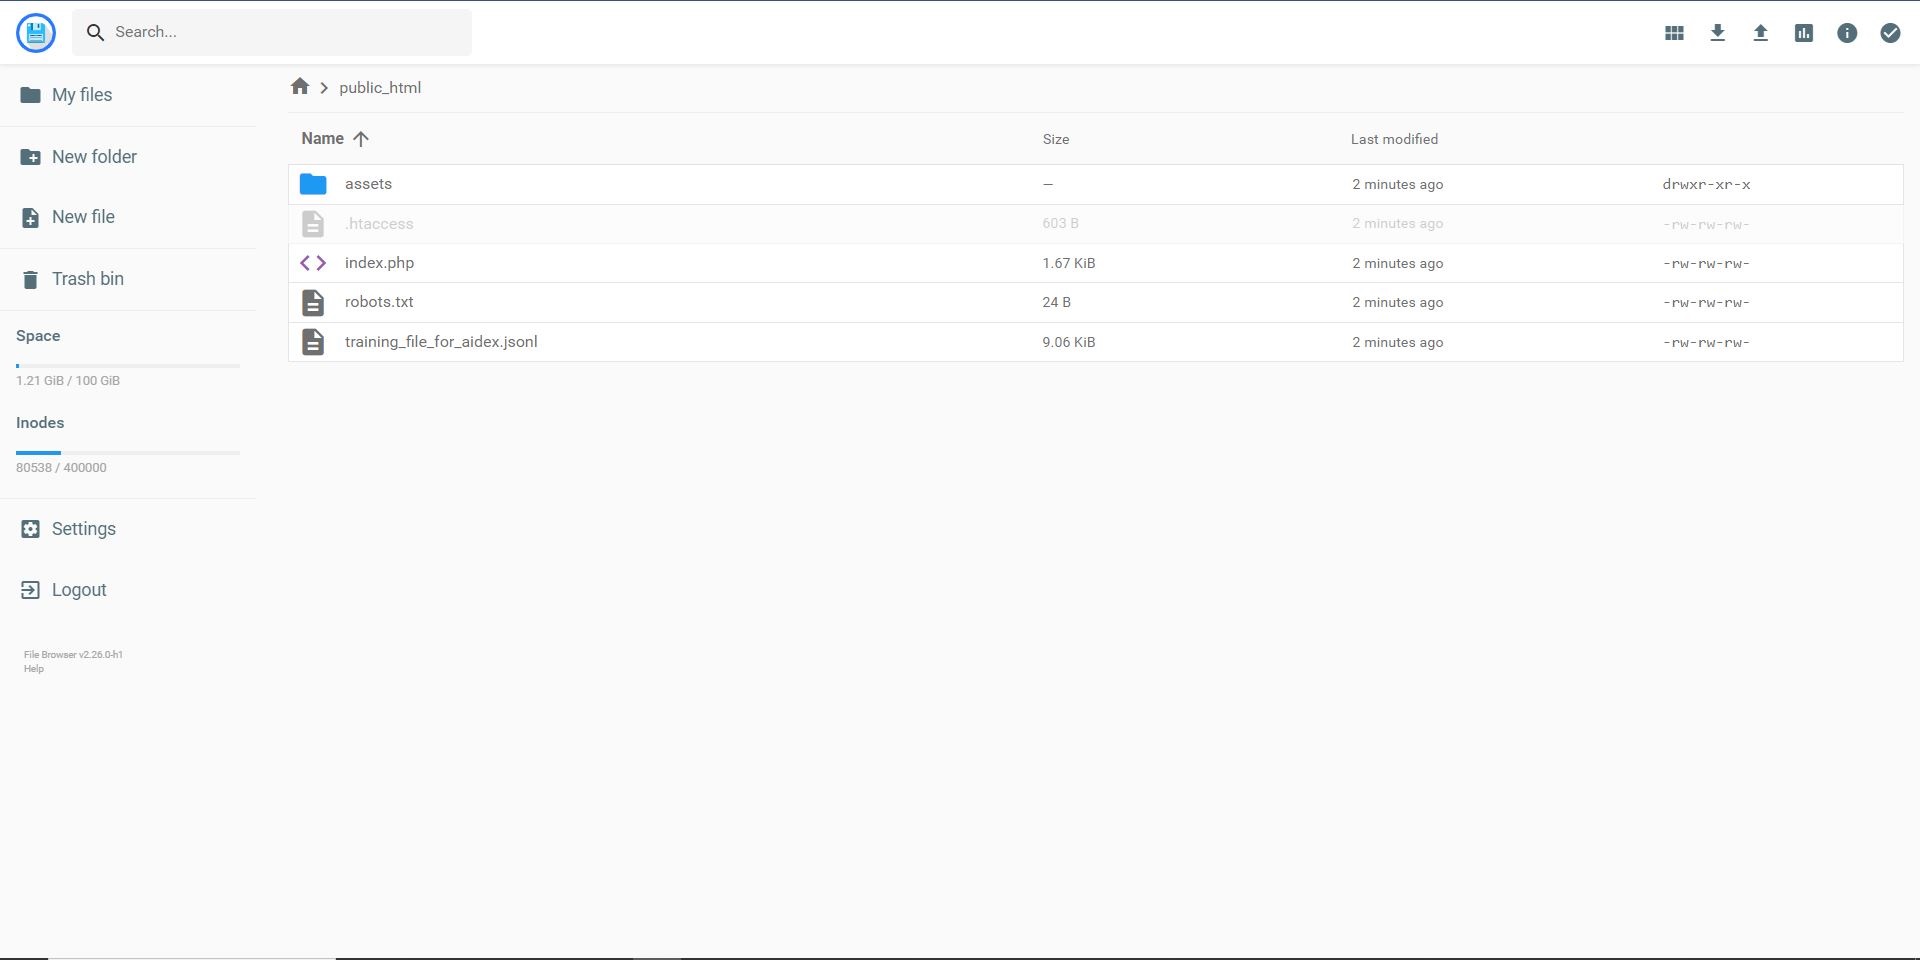
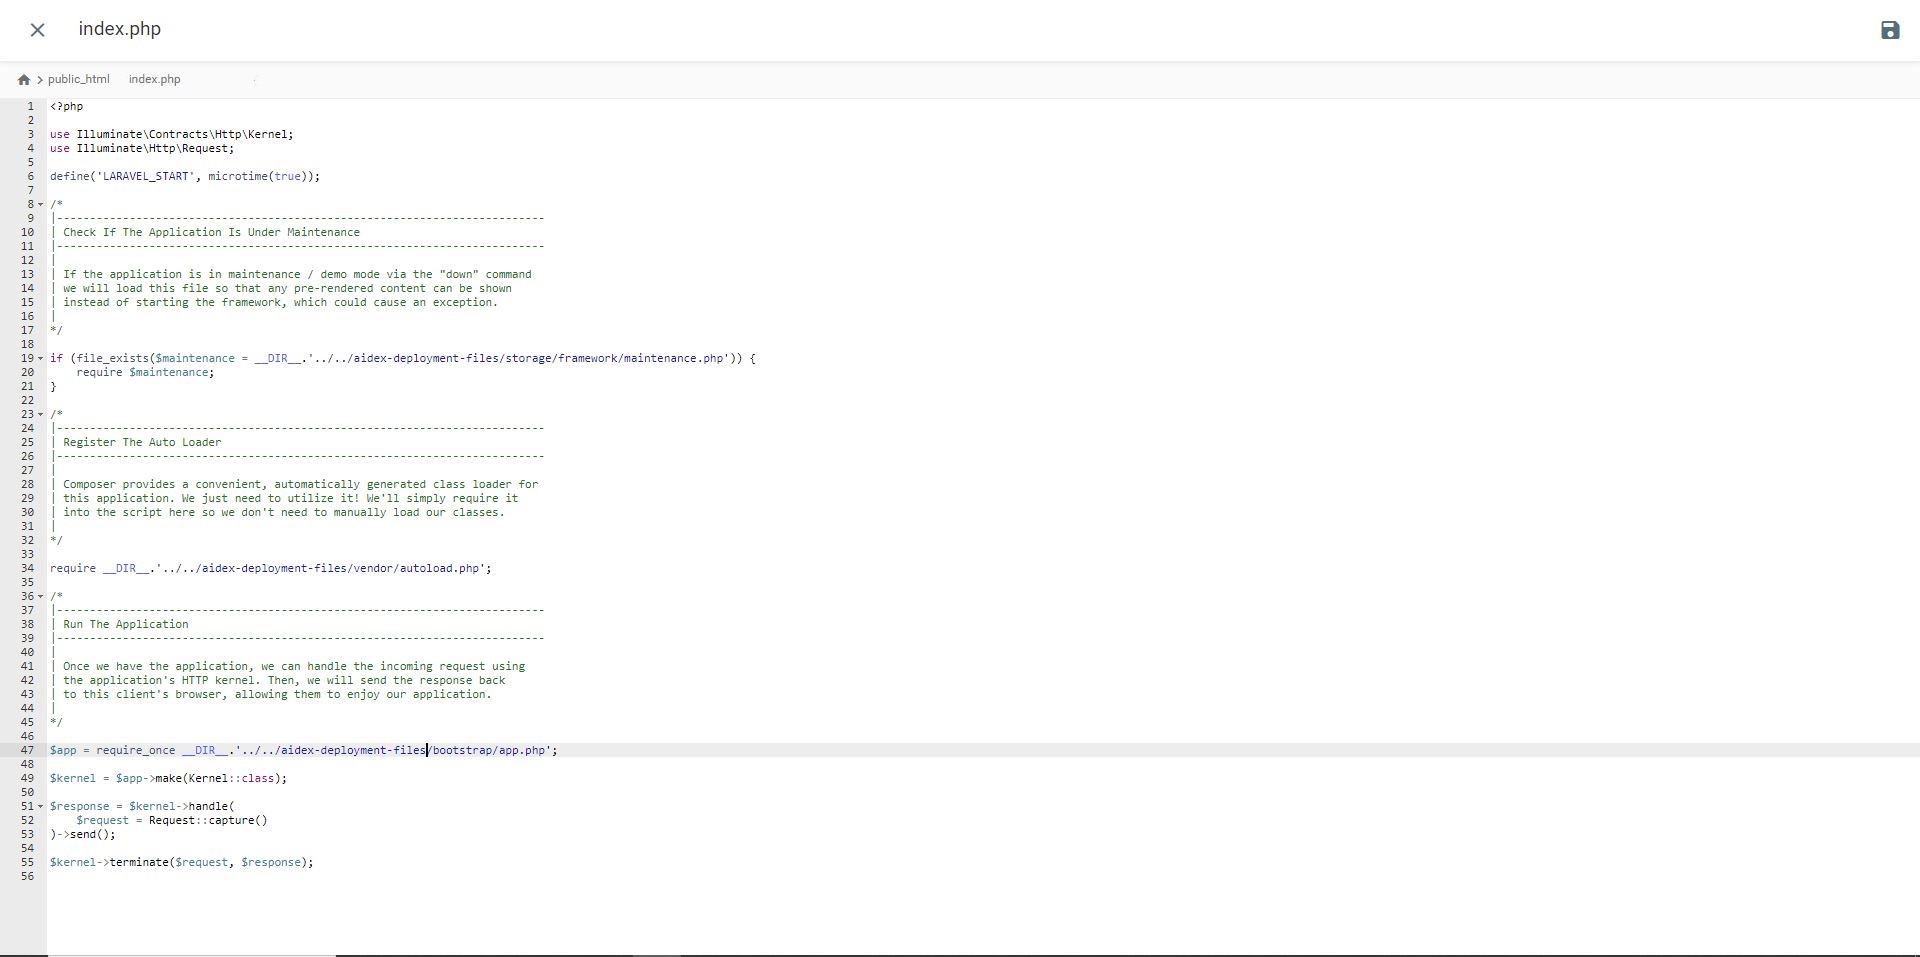
- Update Paths in
index.php: Adjust the paths in theindex.phpfile located in your public directory to reflect the changes made in step 2 (Lines affected 19 / 34 / 47).
# Running the installation wizard
Before starting the installation wizard, ensure that you set your app URL in the .env file located at files/.env as shown below:
APP_URL=https://aidex.ai/
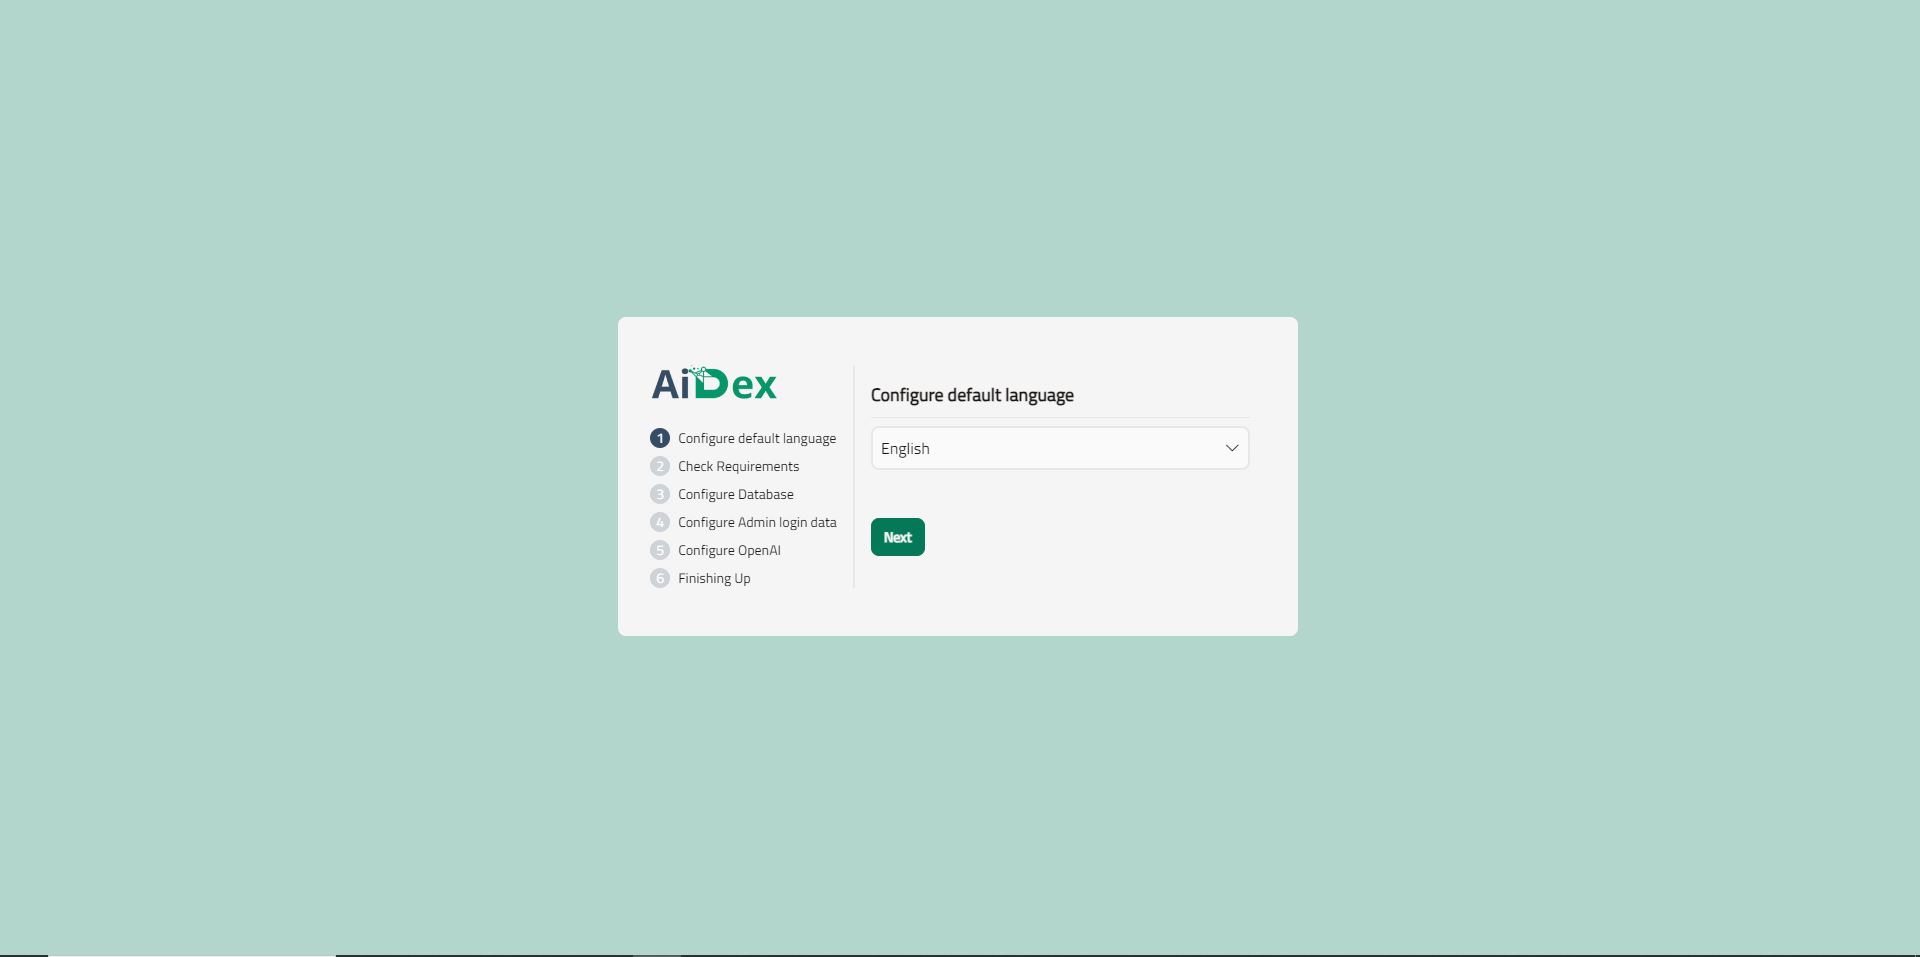
- Once adjusted, navigate into
yourdomain.coand the installation wizard will show up. - Configure default language.
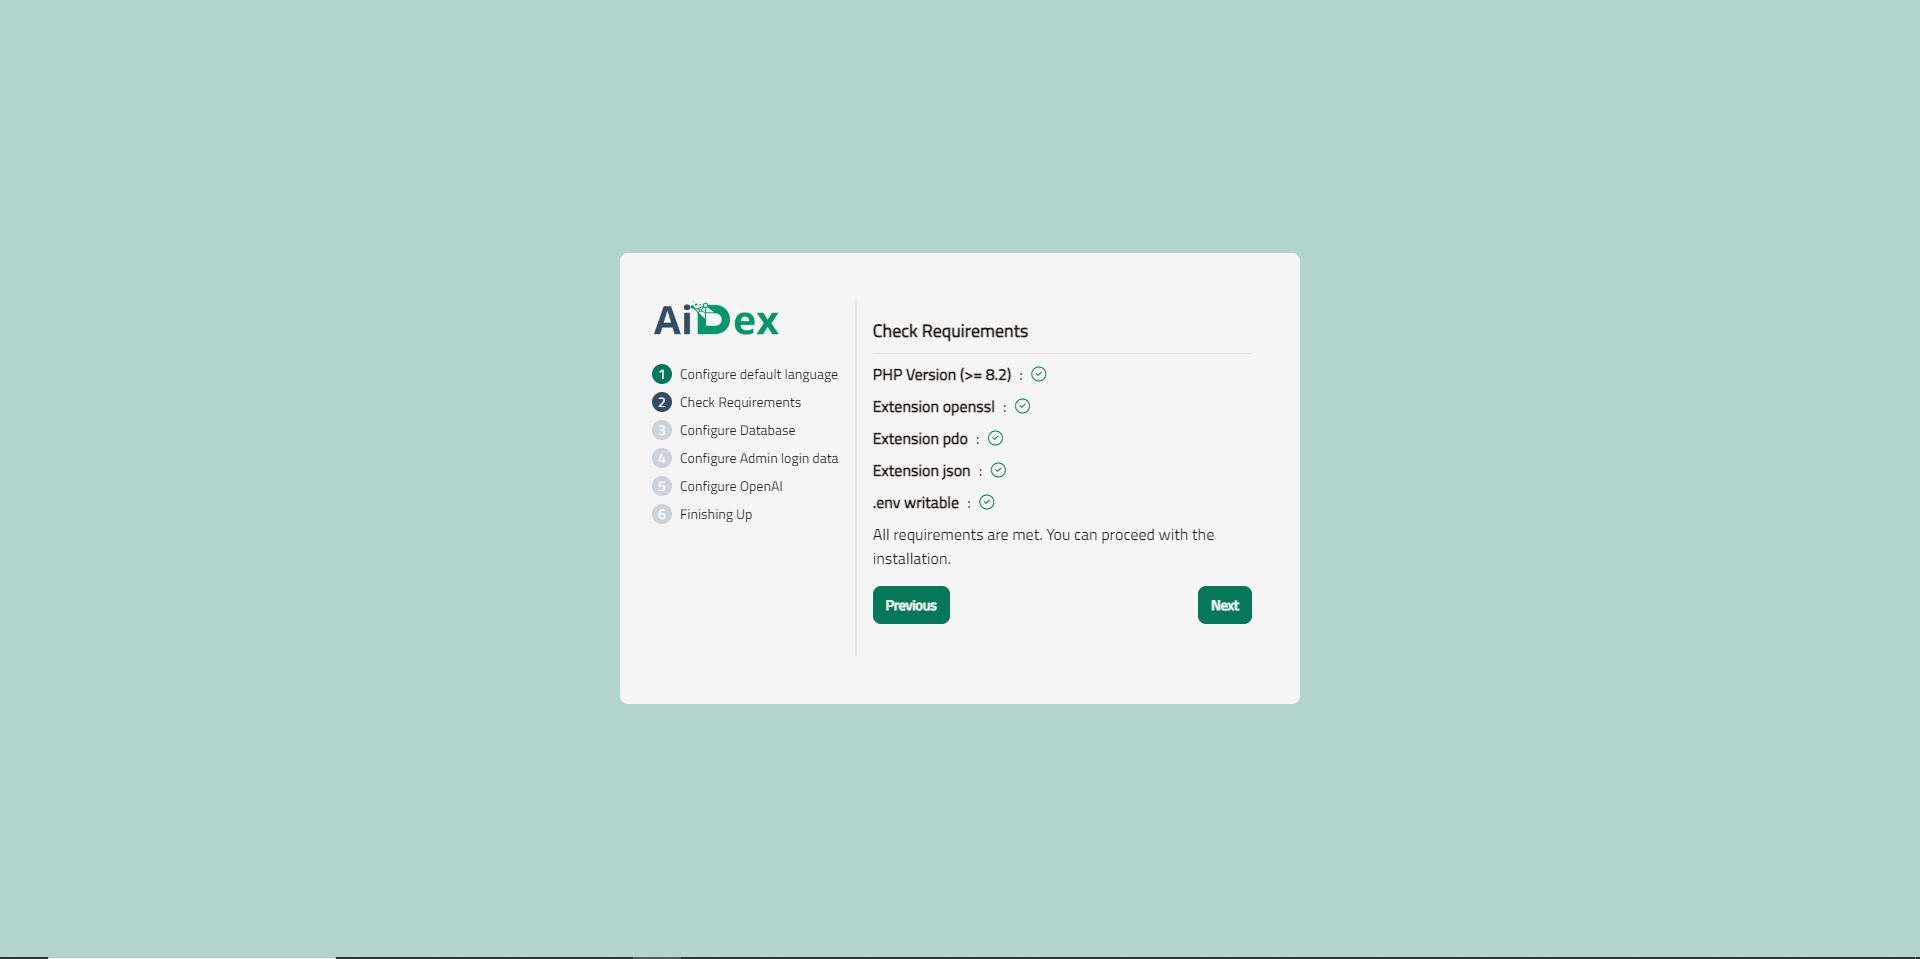
- Click next to check requirements & environment compatiblity.
- Before moving to the database configuration step, make sure you obtain correct database credentials from your hosting provider.
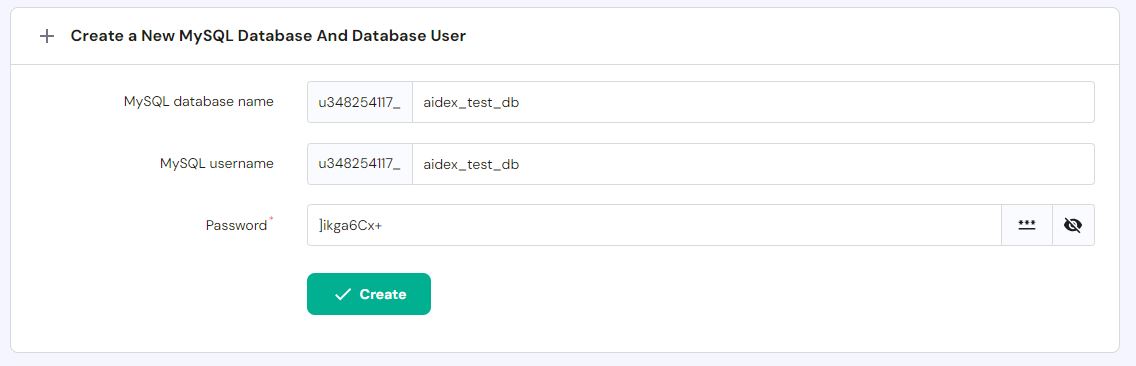
- Once obtained, inject them in the form shown up

If you encountered any errors, try to manually inject them in the
.envfile located atfiles\.env
-
Versions after 1.7 have SMTP configuration required, & for you to link your Google Gmail Account type:
- smtp.gmail.com as Mail Host.
- 465 as Mail Port.
- Your Email Address as Mail Username.
- Generate new password at Google App Passwords., This won't be available if you’ve not set up 2-Step Verification for your Google Account.
- Your Bussiness Email Address as Mail From Address (This will show up in the emails sent as a sender email)
- Your Bussiness Name as Mail From Name (This will show up in the emails sent as a sender's name)
-
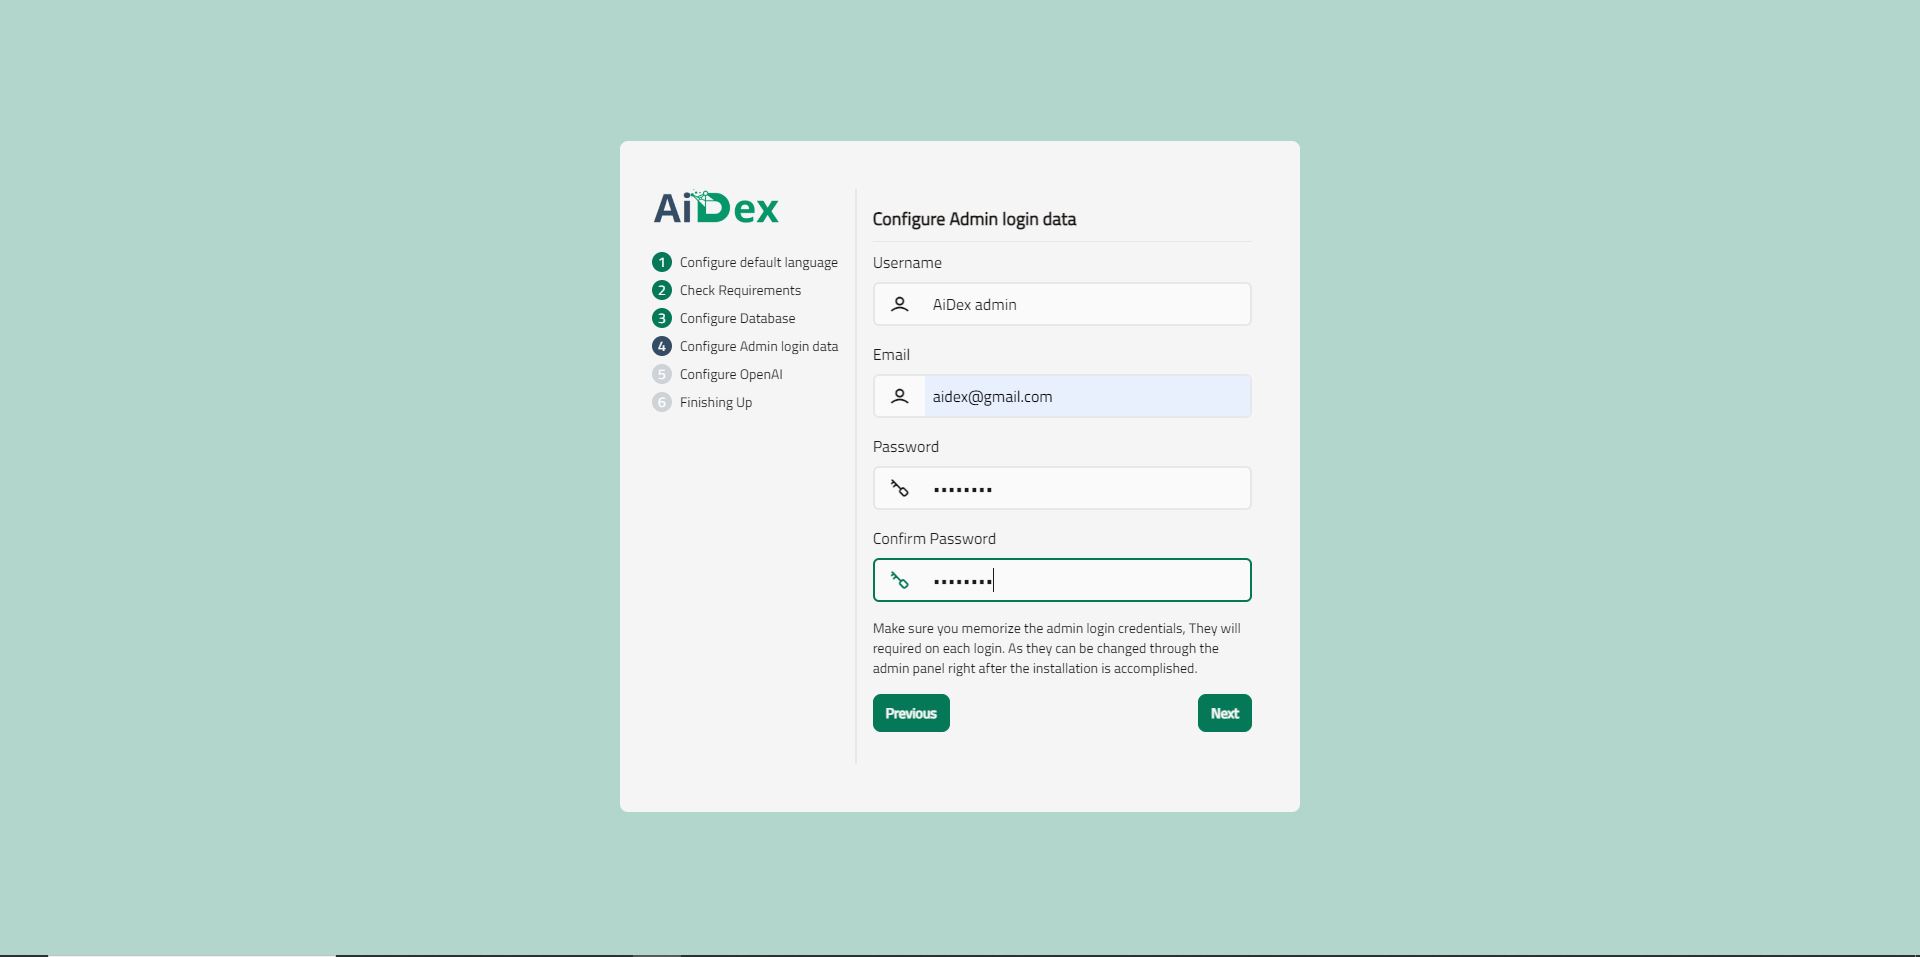
Next step, You'll need to create the admin default login data. Make sure you memorize the credentials.
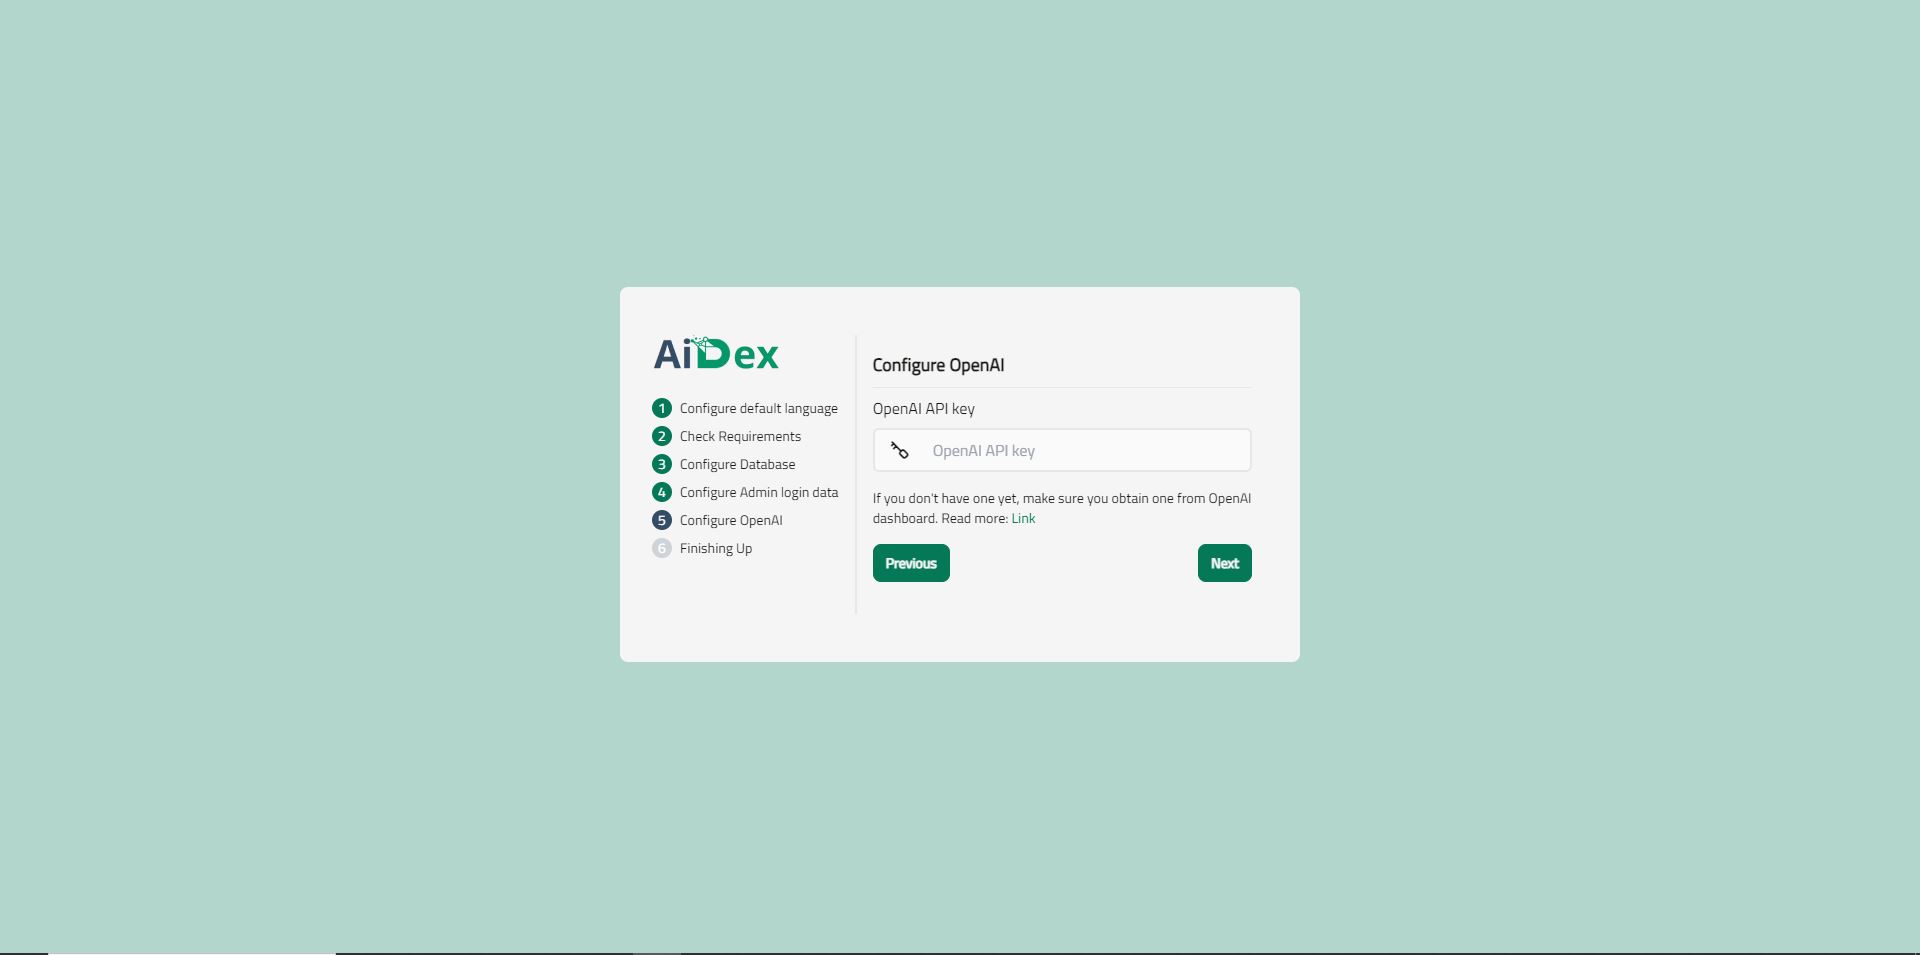
- Last but not least, obtain an API key from OpenAI and inject it in the specified field:
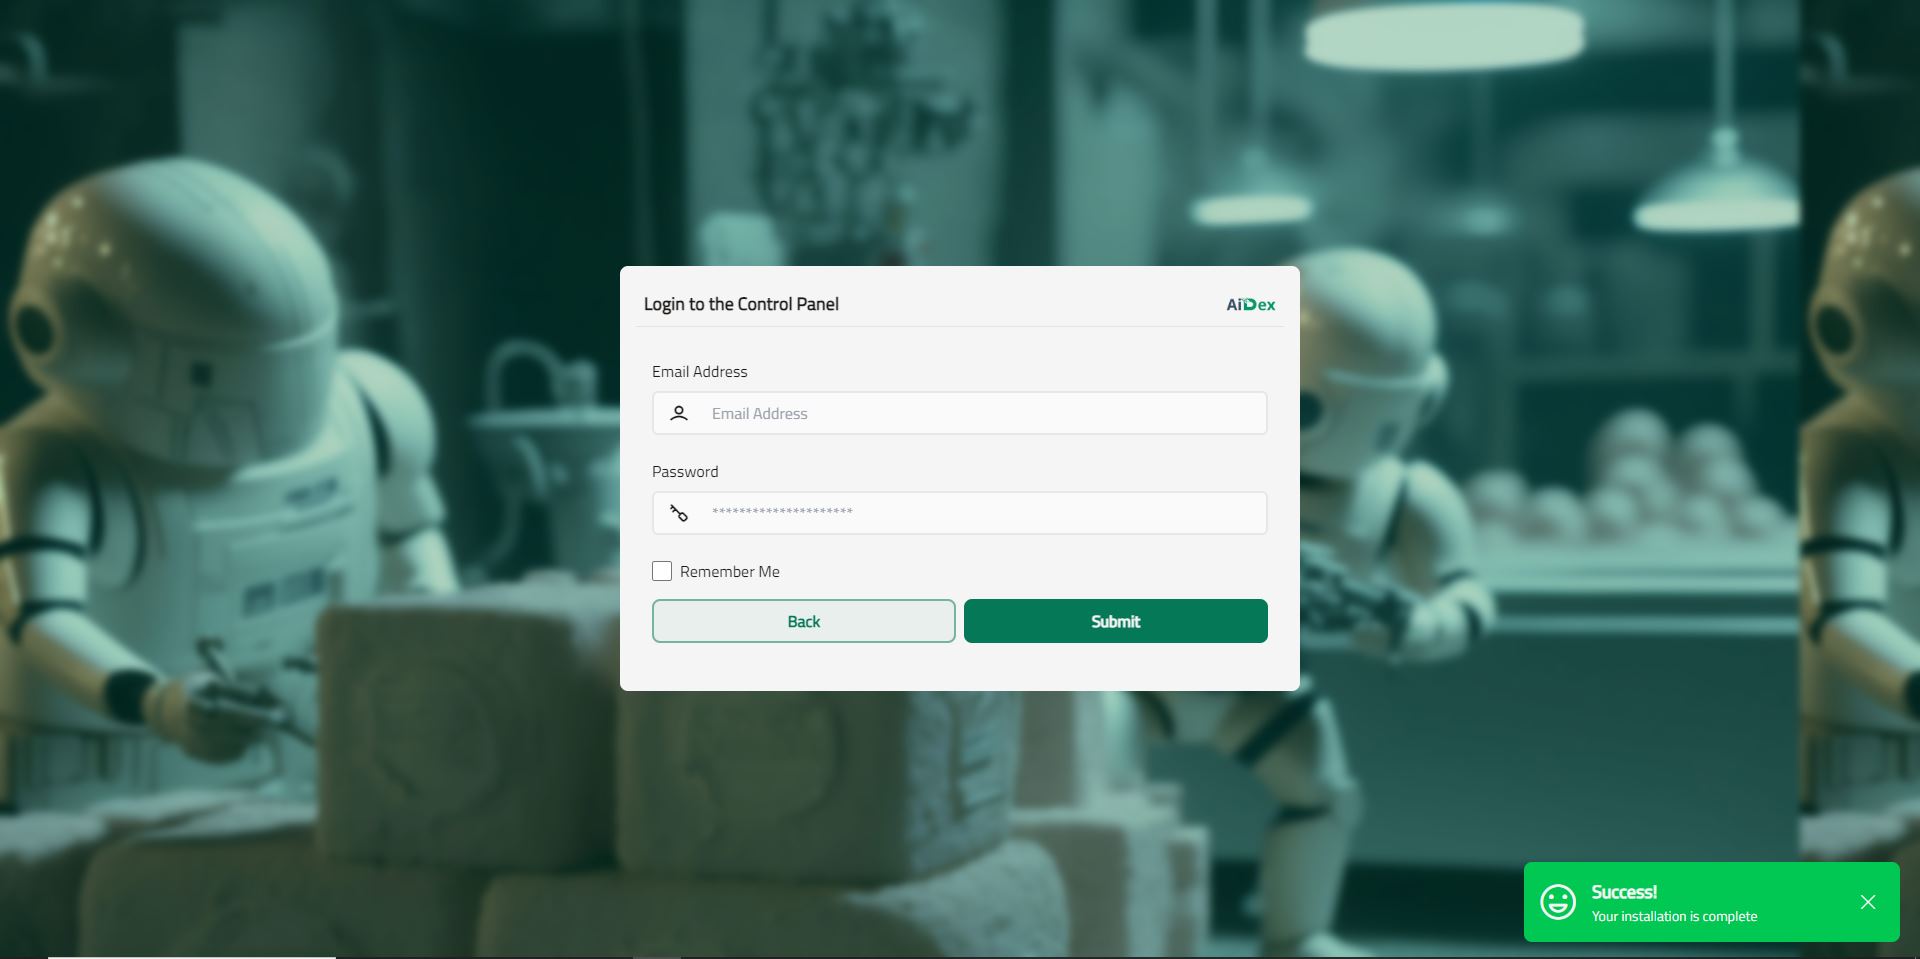
- Once finished, click the install button to launch installation. You'll be automatically redirected to the admin login page.
- That's it!
# Configuring Thrid-Party Services
Google reCAPTCHA Configuration
- Visit https://www.google.com/recaptcha/about/.
- Create a new reCAPTCHA and select version 2 (v2).
- Enter your domain under the allowed domains section.
- After completing the setup, you'll receive a CAPTCHA secret and site key.
- Open the
.envfile and add the keys at the bottom as shown below:
CAPTCHA_SECRET=YOUR_SECRET_KEY
CAPTCHA_SITEKEY=YOUR_SITE_KEY
Google Social Login Configuration
- Visit https://console.developers.google.com/auth/clients.
- Click Create Client.
- Select the "Web application application" type.
- Name your OAuth 2.0 client and click Create.
- Under "Authorized redirect URIs" Add "https://YOUR_DOMAIN/auth/google/redirect"
- Copy "Client ID" & "Client secret".
- Open the
.envfile and add the keys at the bottom as shown below:
GOOGLE_CLIENT_ID=YOUR_GOOGLE_CLIENT_ID
GOOGLE_CLIENT_SECRET=YOUR_GOOGLE_CLIENT_SECRET
Pusher Configuration
- Visit https://pusher.com/.
- Sign Up and create new application.
- Navigate to your application page.
- Navigate to `App Keys`.
- Open the
.envfile and add the keys at the bottom as shown below:
BROADCAST_DRIVER=pusher
PUSHER_APP_ID=YOUR_PUSHER_APP_ID
PUSHER_APP_KEY=YOUR_PUSHER_APP_KEY
PUSHER_APP_SECRET=YOUR_PUSHER_APP_SECRET
PUSHER_APP_CLUSTER=YOUR_PUSHER_APP_CLUSTER
- Installation Requirements
- Deploying to a shared hosting